In this article I will talk about how to install Sitecore 9.1 with SXA 1.8 for development machine. I faced some issues, I will explain how to fix them and some tips also.
1)Setup Prerequisites:
To Install Sitecore 9.1 there’s some prerequisites described in Installation Guide
- Windows Server 2016 or Windows 10 (32/64-bit).I opted for Windows 10
- IIS 10.0
- Sitecore XP 9.1.0 requires .NET Framework 4.7.1.
- Sitecore Identity server requires .NET Core Runtime 2.1.3
- Microsoft SQL Server 2017, 2016 SP2
- MongoDB Server 3.6.6. This is required if you are going to use MongoDB for the Collection database or as a Session State Provider
- Windows PowerShell version 5.1 or later
In my case I opted for Windows 10, Microsoft SQL Server 2017 and Windows PowerShell version 5.1.
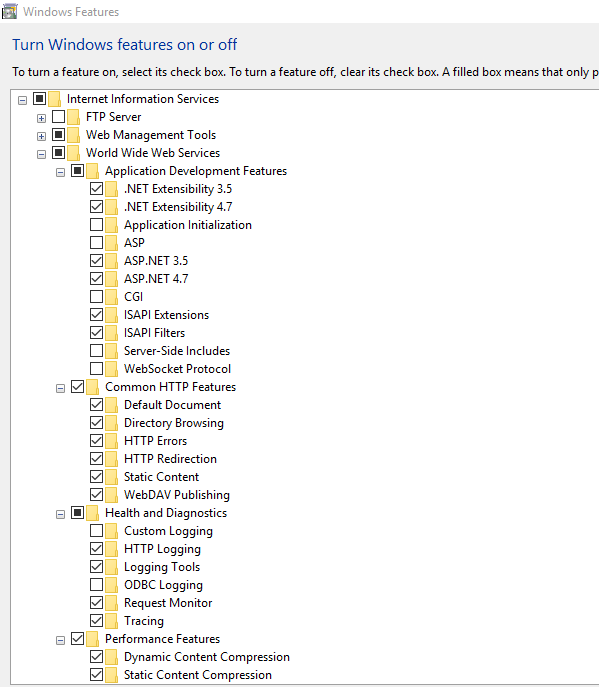
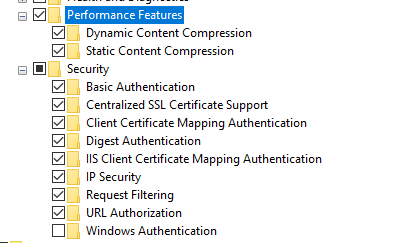
After finishing this Installation please turn on Windows feature for IIS and enable features as done in screen below. Restart your PC after that.
We need also to enable the Contained Database Authentication server configuration option on SQL Server. For that open Sql Server Management studio and run this script below
 sp_configure 'contained database authentication', 1;
GO
RECONFIGURE;
GO
2)Downloading necessary packages
- Start by create a local folder(Installation Folder) in your PC disk where you will save all downloaded packages.I created C:\srcSitecore9
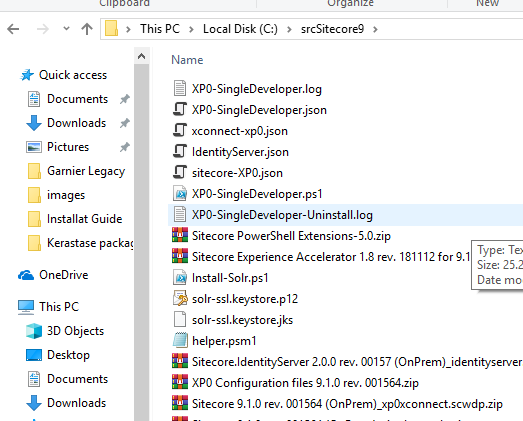
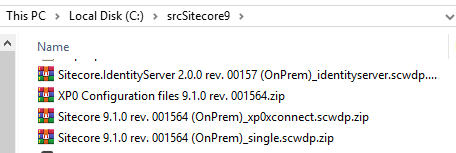
- Download Packages for XP single and extract it in your local folder. It contains 4 zips(Screen below)
- Extract XP0 Configuration files 9.1.0 rev. 001564.zip in your installation Folder
- Download Sitecore PowerShell Extension 5
- Download SXA 1.8 for Sitecore 9.1
- Add your Sitecore License folder to your installation Folder
3) Install Solr
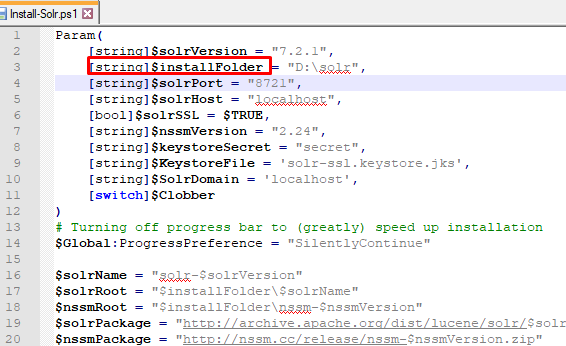
- Download install-solr.ps1 and helper.psm1 in your installation Folder. You can change variables as I did for $installFolder(to install Solr in D:\solr folder)
Run Windows PowerShell in admin mode and execute .\install-solr. After finishing installation it should start Solr Service but in my case I got an issue when trying to restart service
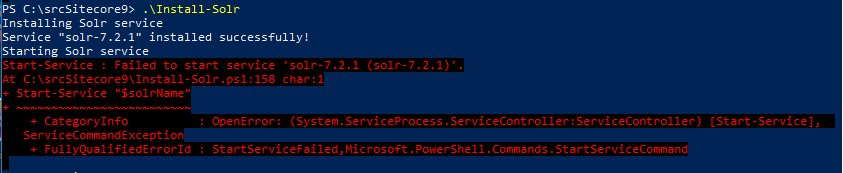
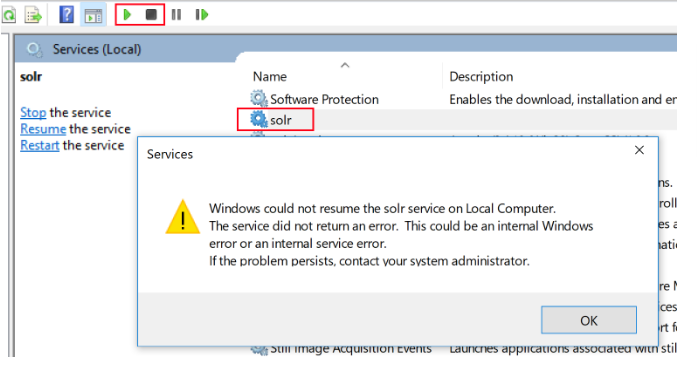
I tried to start the service manually but got another error
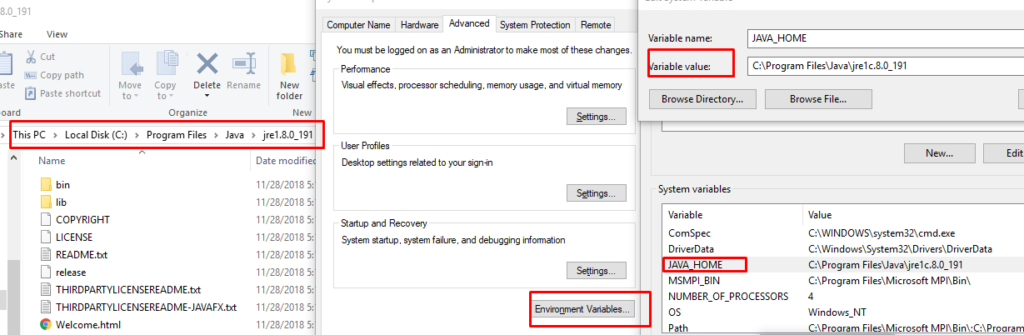
I tried then to run solr.cmd in my solr installation Folder and I got this error “Please set JAVA_HOME to a valid JRE directory

To fix this we need to set JAVA_HOME variable to your JRE Local Path(In my case it was C:\Program Files\Java\jre1c.8.0_191) in view additional system settings–> Environment variables
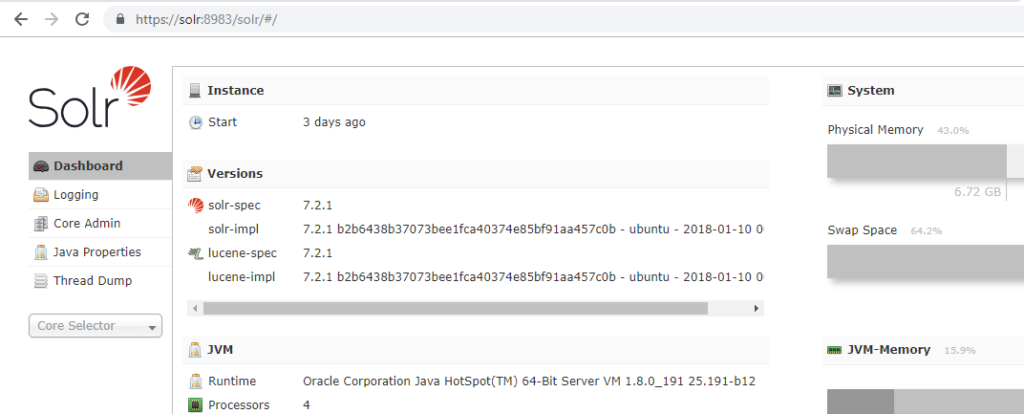
Restarting Solr Service I got Solr Admin Page
4)Install SIF 2.0
Open PowerShell as Administrator and run commands below:
Register-PSRepository -Name SitecoreGallery -SourceLocation https://sitecore.myget.org/F/sc-powershell/api/v2;

Install-Module SitecoreInstallFramework;

Install-Module SitecoreFundamentals;

Update-Module SitecoreInstallFramework;

Update-Module SitecoreFundamentals;

Import-Module SitecoreFundamentals -Force;

Import-Module SitecoreInstallFramework -Force;
and after run Get-InstalledModule command and ensure that SitecoreFundamentals and SIF were installed

5) Install Sitecore
To install Sitecore we need to run XP0-SingleDeveloper.ps1 in PowerShell. By default your Sitecore website will be installed in C:\inetpub\wwwroot\SiteName
We can change this behavior by doing small changes:
- Open sitecore-XP0.json, xconnect-xp0.json, IdentityServer.json files using Notepad++
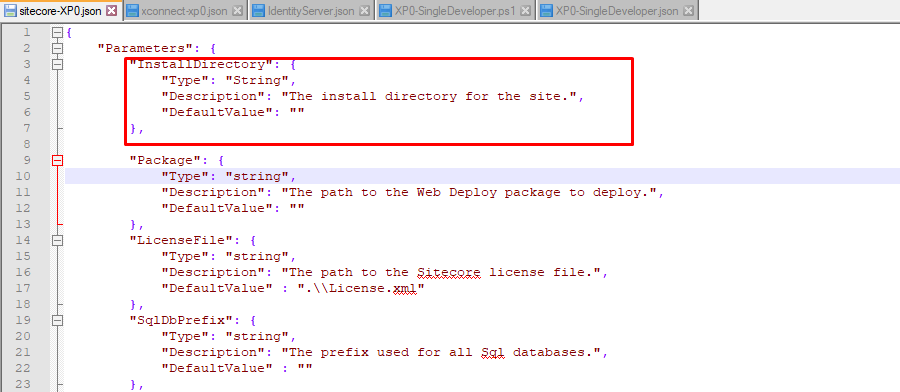
- Add InstallDirectory parameter in Parameters
“InstallDirectory”: {
“Type”: “String”,
“Description”: “The install directory for the site.”,
“DefaultValue”: “”
}
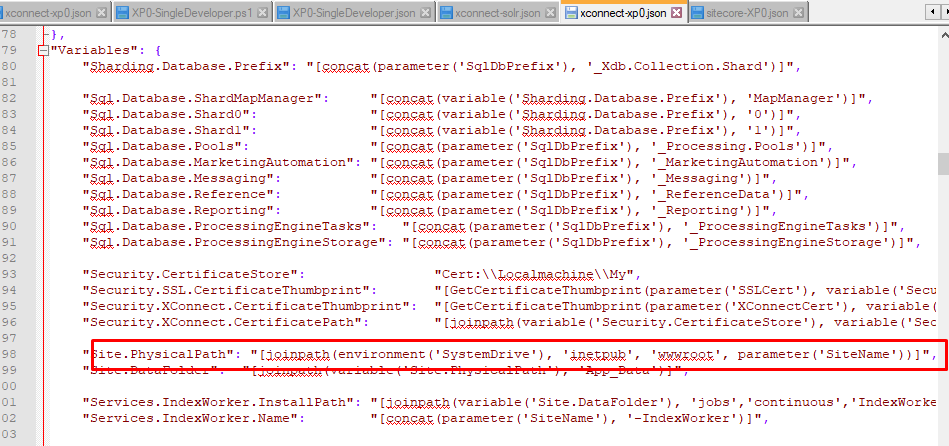
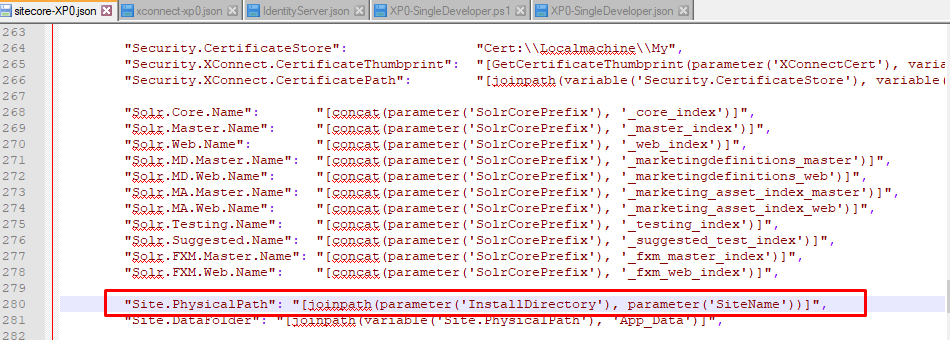
- Set Site.PhysicalPath to [joinpath(parameter(‘InstallDirectory’), parameter(‘SiteName’))]
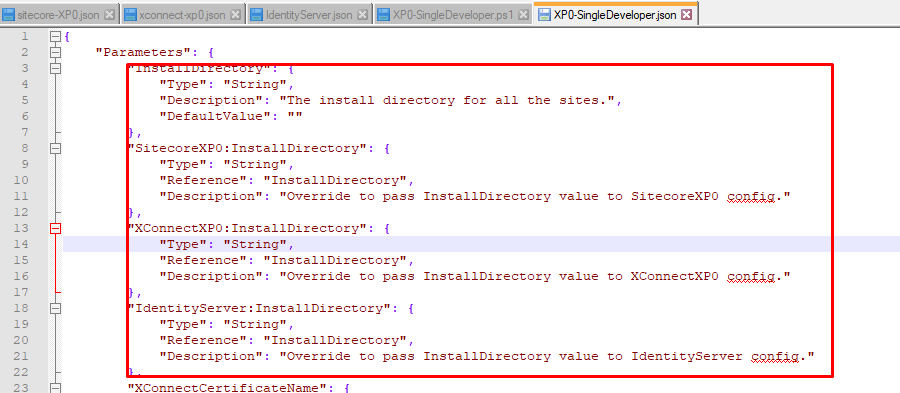
- Open XP0-SingleDeveloper.json file and add these parameters below:
“InstallDirectory”: {
“Type”: “String”,
“Description”: “The install directory for all the sites.”,
“DefaultValue”: “”
},
“SitecoreXP0:InstallDirectory”: {
“Type”: “String”,
“Reference”: “InstallDirectory”,
“Description”: “Override to pass InstallDirectory value to SitecoreXP0 config.”
},
“XConnectXP0:InstallDirectory”: {
“Type”: “String”,
“Reference”: “InstallDirectory”,
“Description”: “Override to pass InstallDirectory value to XConnectXP0 config.”
},
“IdentityServer:InstallDirectory”: {
“Type”: “String”,
“Reference”: “InstallDirectory”,
“Description”: “Override to pass InstallDirectory value to IdentityServer config.”
}
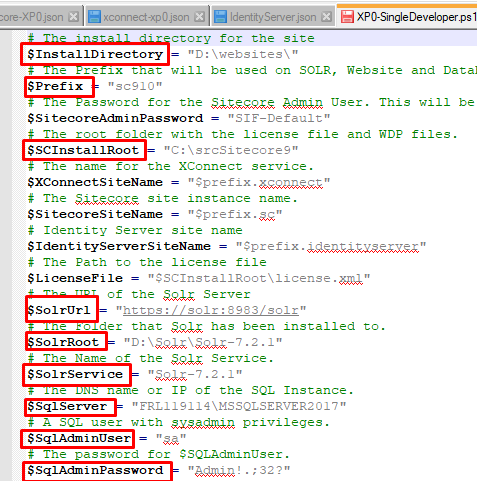
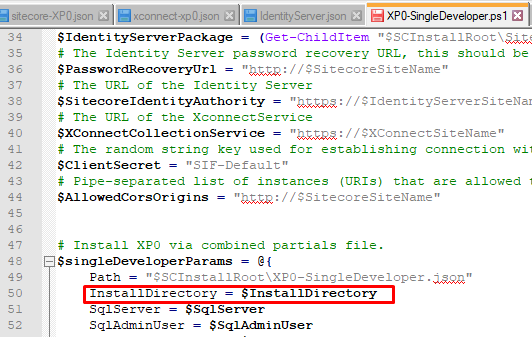
- Open XP0-SingleDeveloper.ps1 File and add $InstallDirectory variable and also changes all variables in screen below according to your installation
- Set InstallDirectory parameter in parameters
- Open Windows PowerShell as Administrator and execute Install-SitecoreConfiguration -Path .\prerequisites.json
- Execute .\XP0-SingleDeveloper.ps1
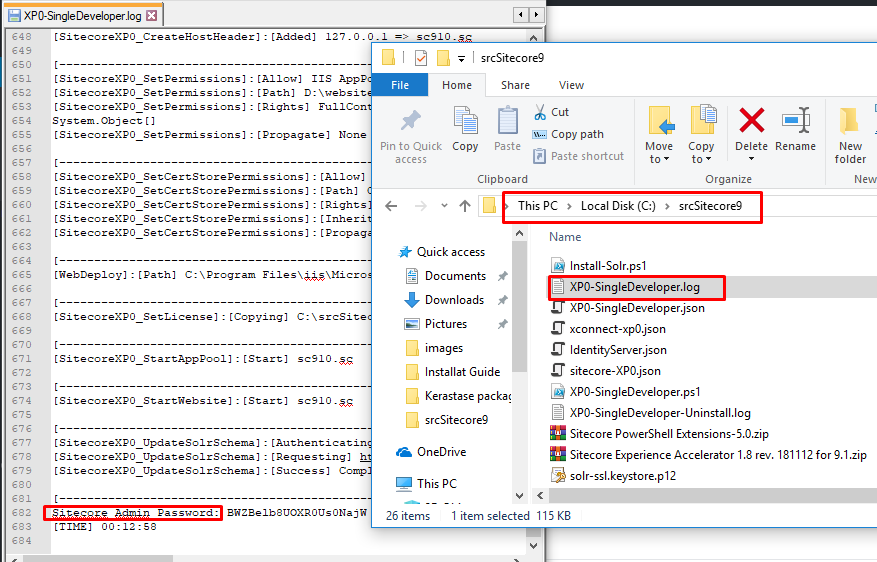
- If installation finish successfully you will got Admin Password at the end
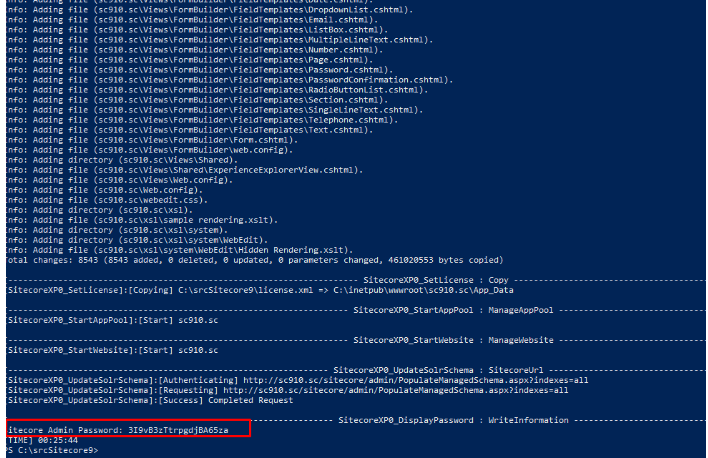
The same password can be found in XP0-SingleDeveloper.log file created in your Installation Folder. This file contains installation logs, you can check it also if you faced installation Issue
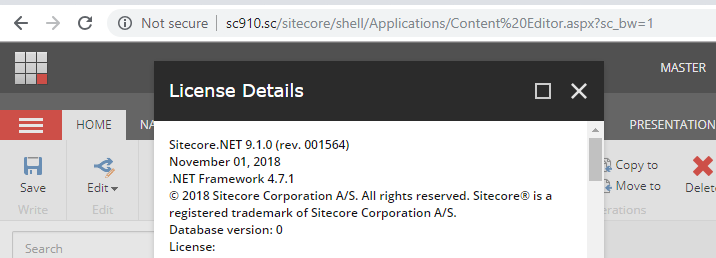
Browse http://sc910.sc/sitecore and connect using admin password saved before and enjoy your Sitecore 9.1!!!
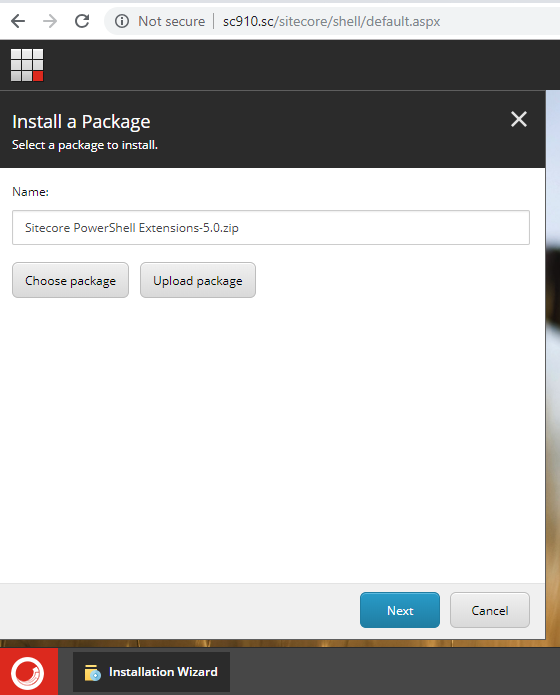
6)Install SXA 1.8
Start by installing Sitecore PowerShell Extensions 5.0 package uploaded before
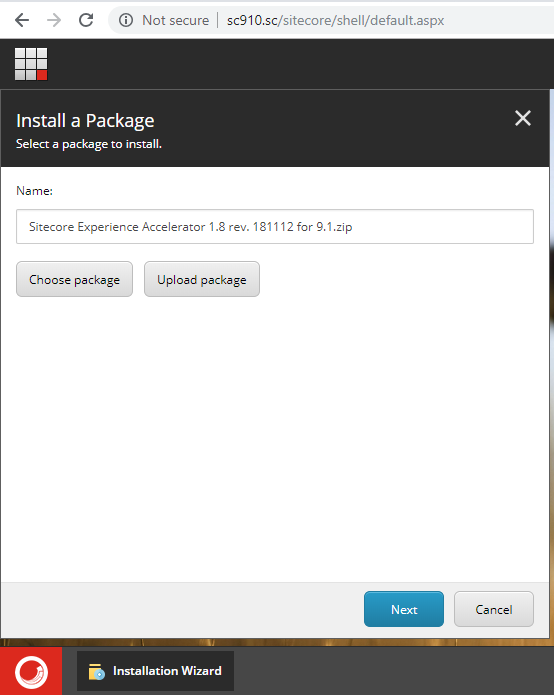
And then Install SXA 1.8
7)Uninstall Sitecore 9.1 Instance
If you want to uninstall your Sitecore 9.1 instance You need to comment Install-SitecoreConfiguration line in and uncomment Uninstall-SitecoreConfiguration line
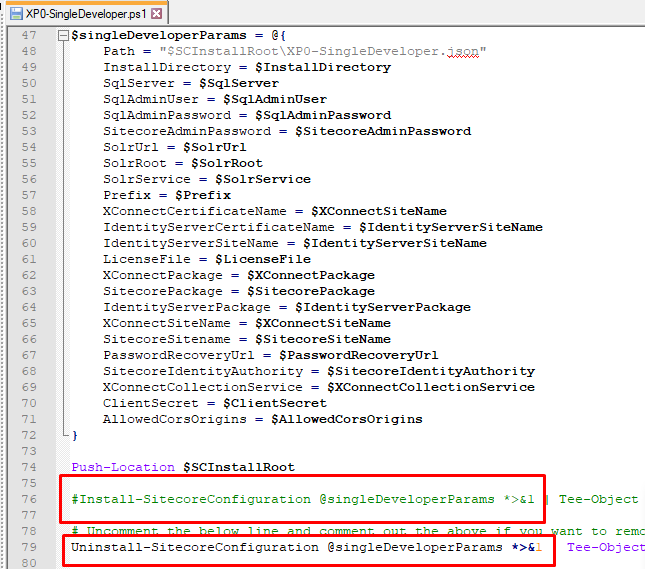
and Execute .\XP0-SingleDeveloper.ps1
Hope it will be heplfull for your Sitecore 9.1 with SXA 1.8 Installation!!
If you faced any issue don’t hesitate to add comment.
Thanks